Amazon CodeStar 2장

Amazon CodeStar 1장 을 보고 오신 분들은 해당 2장을 이어서 나가시면 됩니다

스템 10으로 시작하는 이유는… 1장에서 이어서 나갔기 때문입니다.

STEP 10

  • 1장에서 로그인 하였던 깃헙아이디로 깃헙 로그인을 하게되면 놀랍게도 기본으로 생성된 레포지토리를 확인 할수 있다.
  • readme.md파일에서 getting Started전까지만 보고 패스
  • 해당 프로젝트를 clone 땡겨오자( cli, sourceTree, git kraken 등등)

10

STEP 11

  • maven프로젝트로 기본 셋팅
  • 간단한 헬로 컨트롤러와 테스트 코드가 작성되어 있음
  • gradle로 변경 가능(pom.xml 지우고, build.gradle 추가하고 등등….)

11

헬로 컨트롤러

1
2
3
4
5
6
7
8
9
10
11
12
13
14
15
16
17
18
19
20
21
22
23
24
25
26
27
28
29
30
31
32
package com.aws.codestar.projecttemplates.controller;

import org.json.JSONObject;
import org.springframework.http.ResponseEntity;
import org.springframework.web.bind.annotation.RequestMapping;
import org.springframework.web.bind.annotation.RequestMethod;
import org.springframework.web.bind.annotation.RequestParam;
import org.springframework.web.bind.annotation.RestController;

/**
* Basic Spring web service controller that handles all GET requests.
*/
@RestController
@RequestMapping("/")
public class HelloWorldController {

private static final String MESSAGE_FORMAT = "Hello %s!";

@RequestMapping(method = RequestMethod.GET, produces = "application/json")
public ResponseEntity helloWorldGet(@RequestParam(value = "name", defaultValue = "World") String name) {
return ResponseEntity.ok(createResponse(name));
}

@RequestMapping(method = RequestMethod.POST, produces = "application/json")
public ResponseEntity helloWorldPost(@RequestParam(value = "name", defaultValue = "World") String name) {
return ResponseEntity.ok(createResponse(name));
}

private String createResponse(String name) {
return new JSONObject().put("Output", String.format(MESSAGE_FORMAT, name)).toString();
}
}

간단한 테스트 코드

1
2
3
4
5
6
7
8
9
10
11
12
13
14
15
16
17
18
19
20
21
22
23
24
25
26
27
28
29
30
31
32
33
34
35
36
37
38
39
40
41
42
43
44
45
46
47
48
49
50
51
52
53
54
55
56
57
58
59
60
61
62
63
64
65
66
67
68
69
70
71
package com.aws.codestar.projecttemplates.controller;

import org.json.JSONObject;
import org.junit.jupiter.api.AfterAll;
import org.junit.jupiter.api.BeforeAll;
import org.junit.jupiter.api.DisplayName;
import org.junit.jupiter.api.Test;
import org.springframework.http.HttpStatus;
import org.springframework.http.ResponseEntity;

import static org.junit.jupiter.api.Assertions.assertEquals;

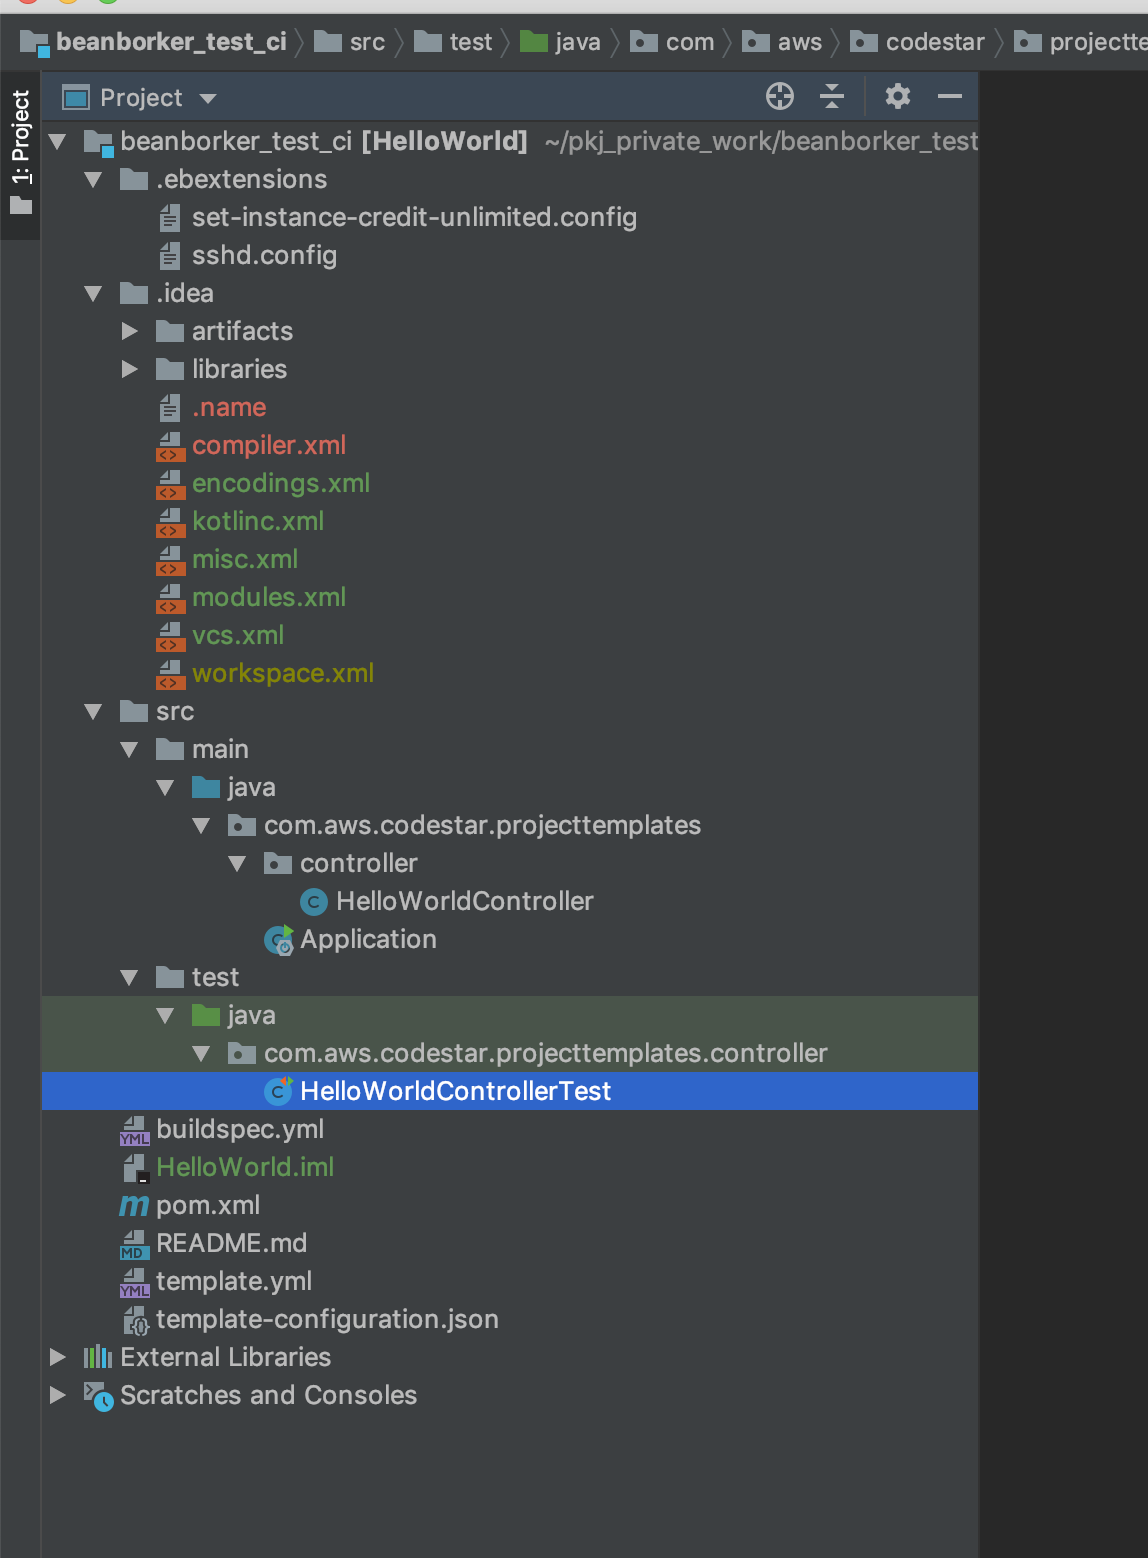
/**
* Tests for {@link HelloWorldController}. Modify the tests in order to support your use case as you build your project.
*/
@DisplayName("Tests for HelloWorldController")
public class HelloWorldControllerTest {

private static final String EXPECTED_RESPONSE_VALUE = "Hello AWS CodeStar!";
private static final String INPUT_NAME = "AWS CodeStar";

private final HelloWorldController controller = new HelloWorldController();

/**
* Initializing variables before we run the tests.
* Use @BeforeAll for initializing static variables at the start of the test class execution.
* Use @BeforeEach for initializing variables before each test is run.
*/
@BeforeAll
static void setup() {
// Use as needed.
}

/**
* De-initializing variables after we run the tests.
* Use @AfterAll for de-initializing static variables at the end of the test class execution.
* Use @AfterEach for de-initializing variables at the end of each test.
*/
@AfterAll
static void tearDown() {
// Use as needed.
}

/**
* Basic test to verify the result obtained when calling {@link HelloWorldController#helloWorldGet} successfully.
*/
@Test
@DisplayName("Basic test for GET request")
void testGetRequest() {
ResponseEntity responseEntity = controller.helloWorldGet(INPUT_NAME);

// Verify the response obtained matches the values we expect.
JSONObject jsonObjectFromResponse = new JSONObject(responseEntity.getBody().toString());
assertEquals(EXPECTED_RESPONSE_VALUE, jsonObjectFromResponse.get("Output"));
assertEquals(HttpStatus.OK, responseEntity.getStatusCode());
}

/**
* Basic test to verify the result obtained when calling {@link HelloWorldController#helloWorldPost} successfully.
*/
@Test
@DisplayName("Basic test for POST request")
void testPostRequest() {
ResponseEntity responseEntity = controller.helloWorldPost(INPUT_NAME);

// Verify the response obtained matches the values we expect.
JSONObject jsonObjectFromResponse = new JSONObject(responseEntity.getBody().toString());
assertEquals(EXPECTED_RESPONSE_VALUE, jsonObjectFromResponse.get("Output"));
assertEquals(HttpStatus.OK, responseEntity.getStatusCode());
}
}

만약에 테스트코드가 존재하지 않는다면 CI 도입이 필요하지 않음

  • 코드를 작성 후 테스틐 코드 없이 배포를 자동으로 맡겨버리게 된다면 사이드이펙트 체크 불가
  • 테스트 코드가 없다면 수동배포와 별차이가 없음

STEP 12

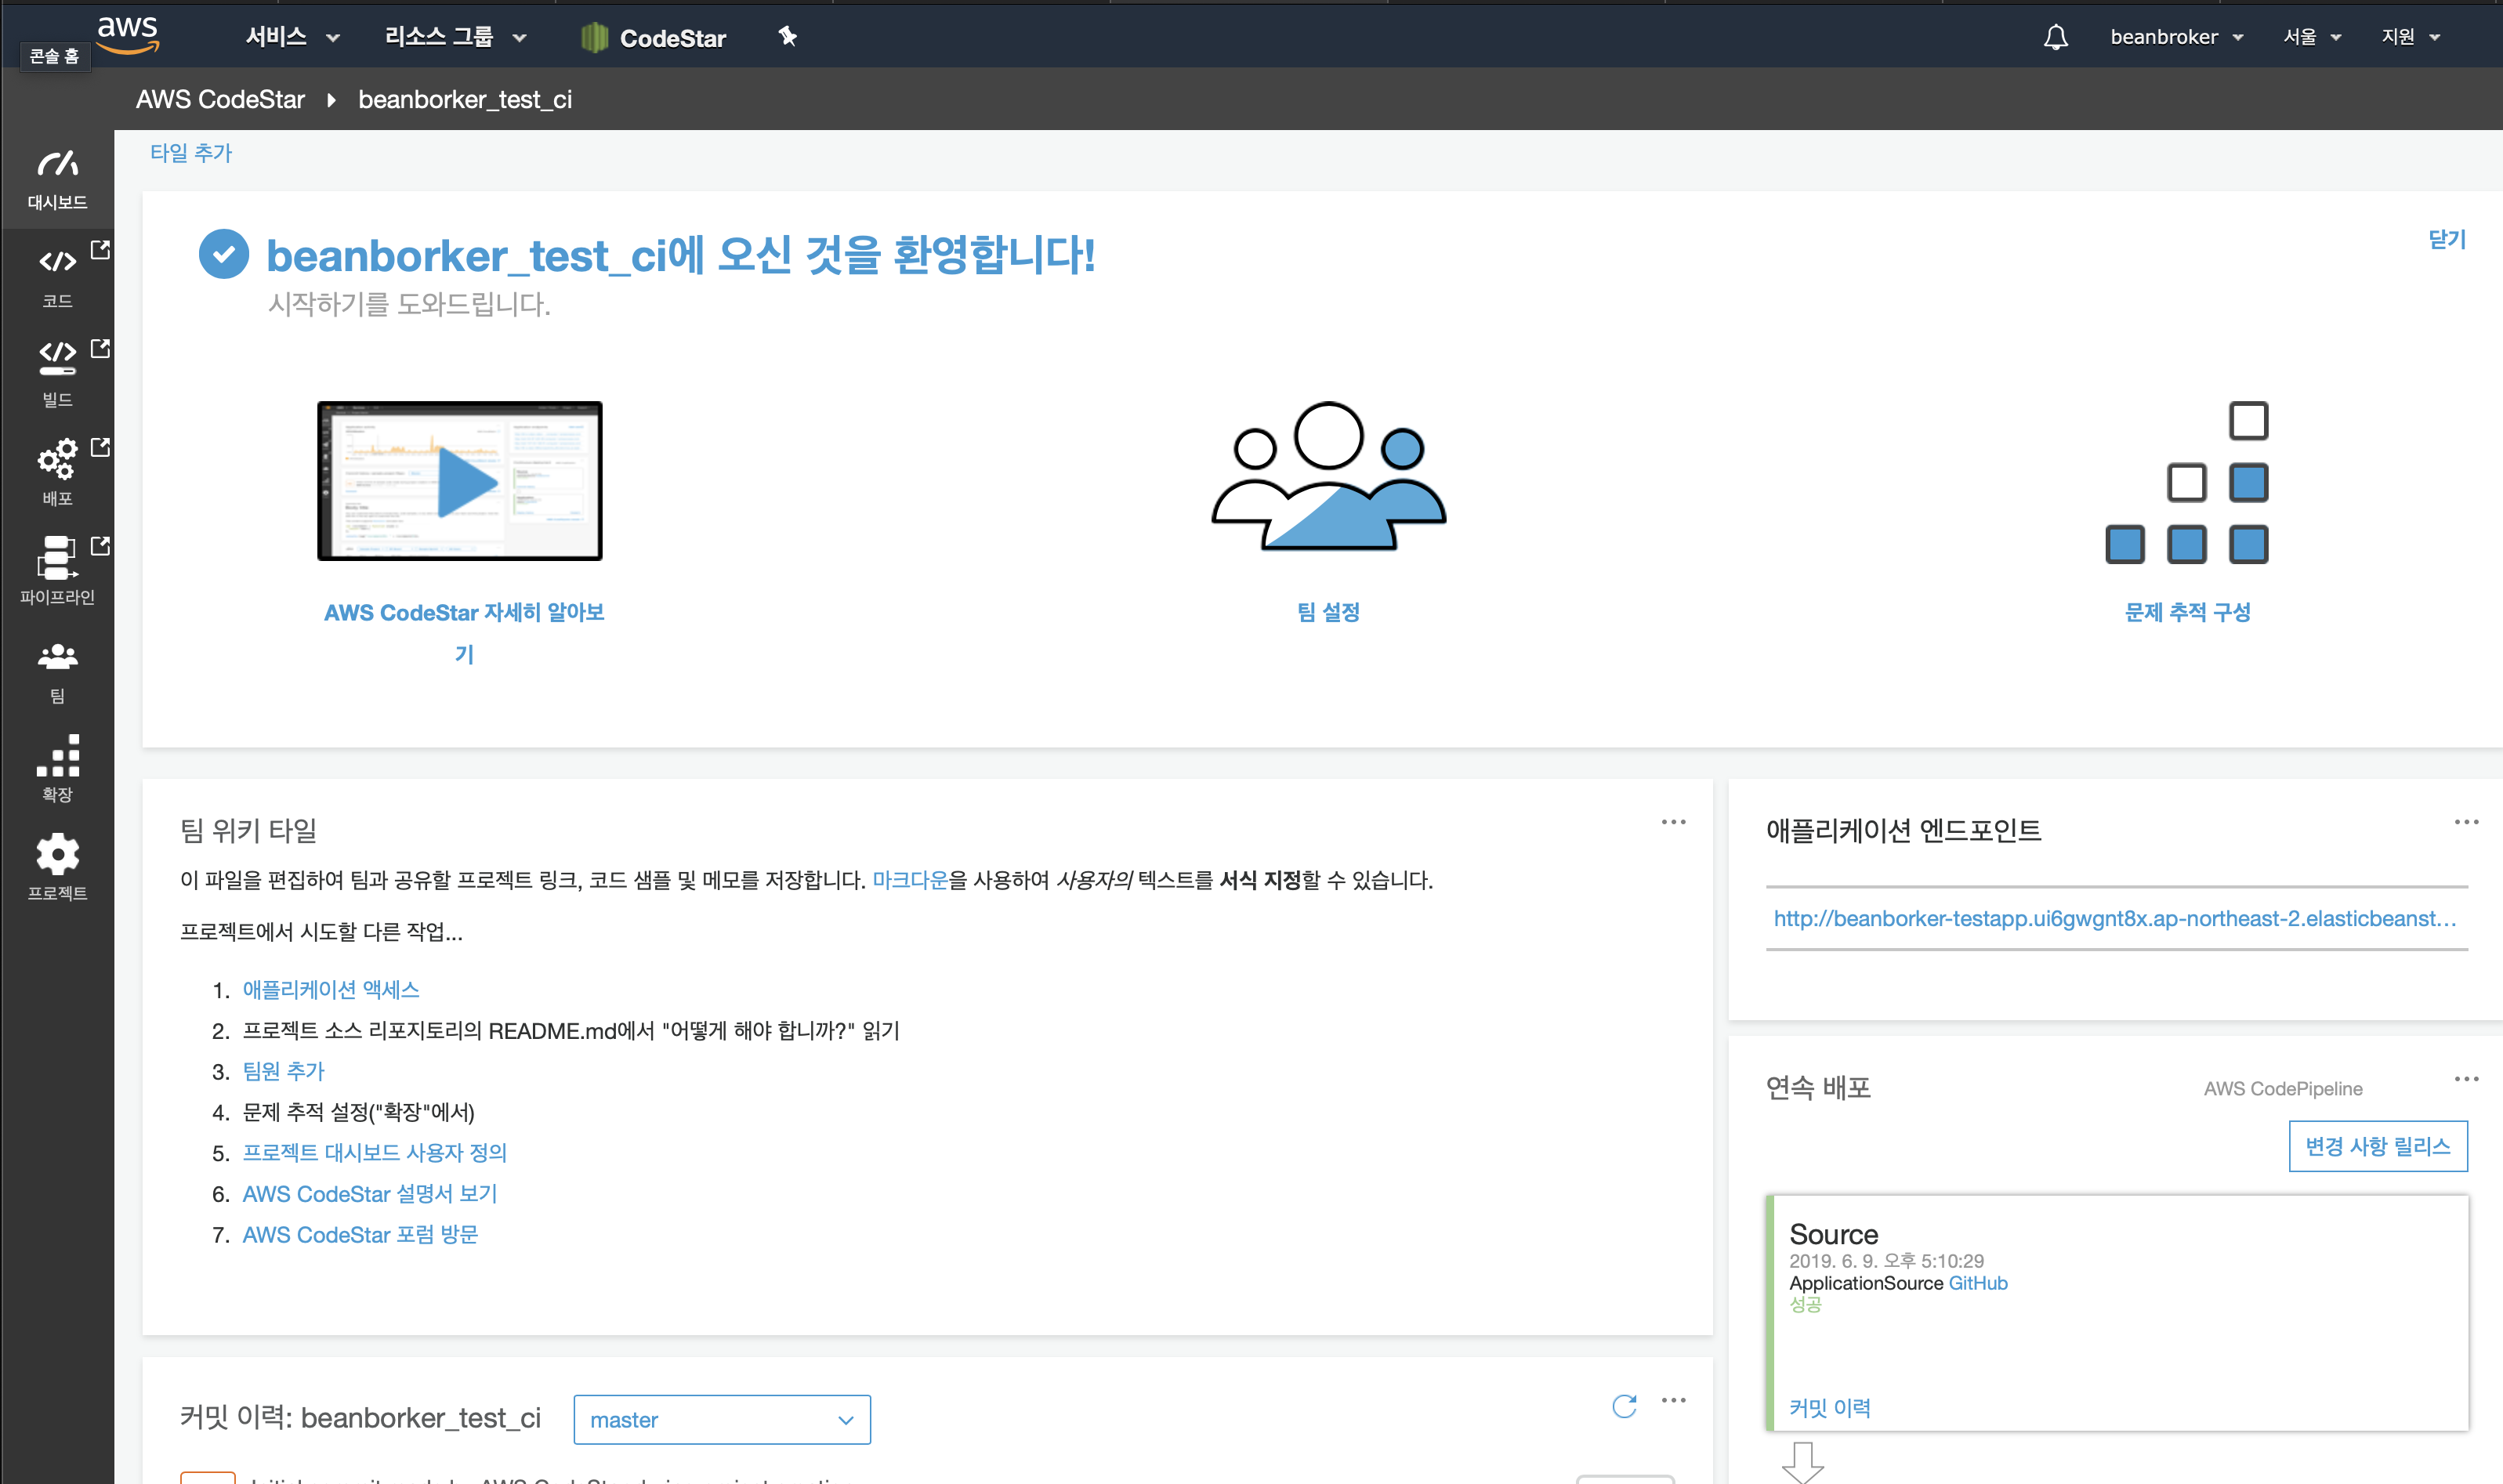
  • 글을 작성하다보니 빌드 및 배포 완료
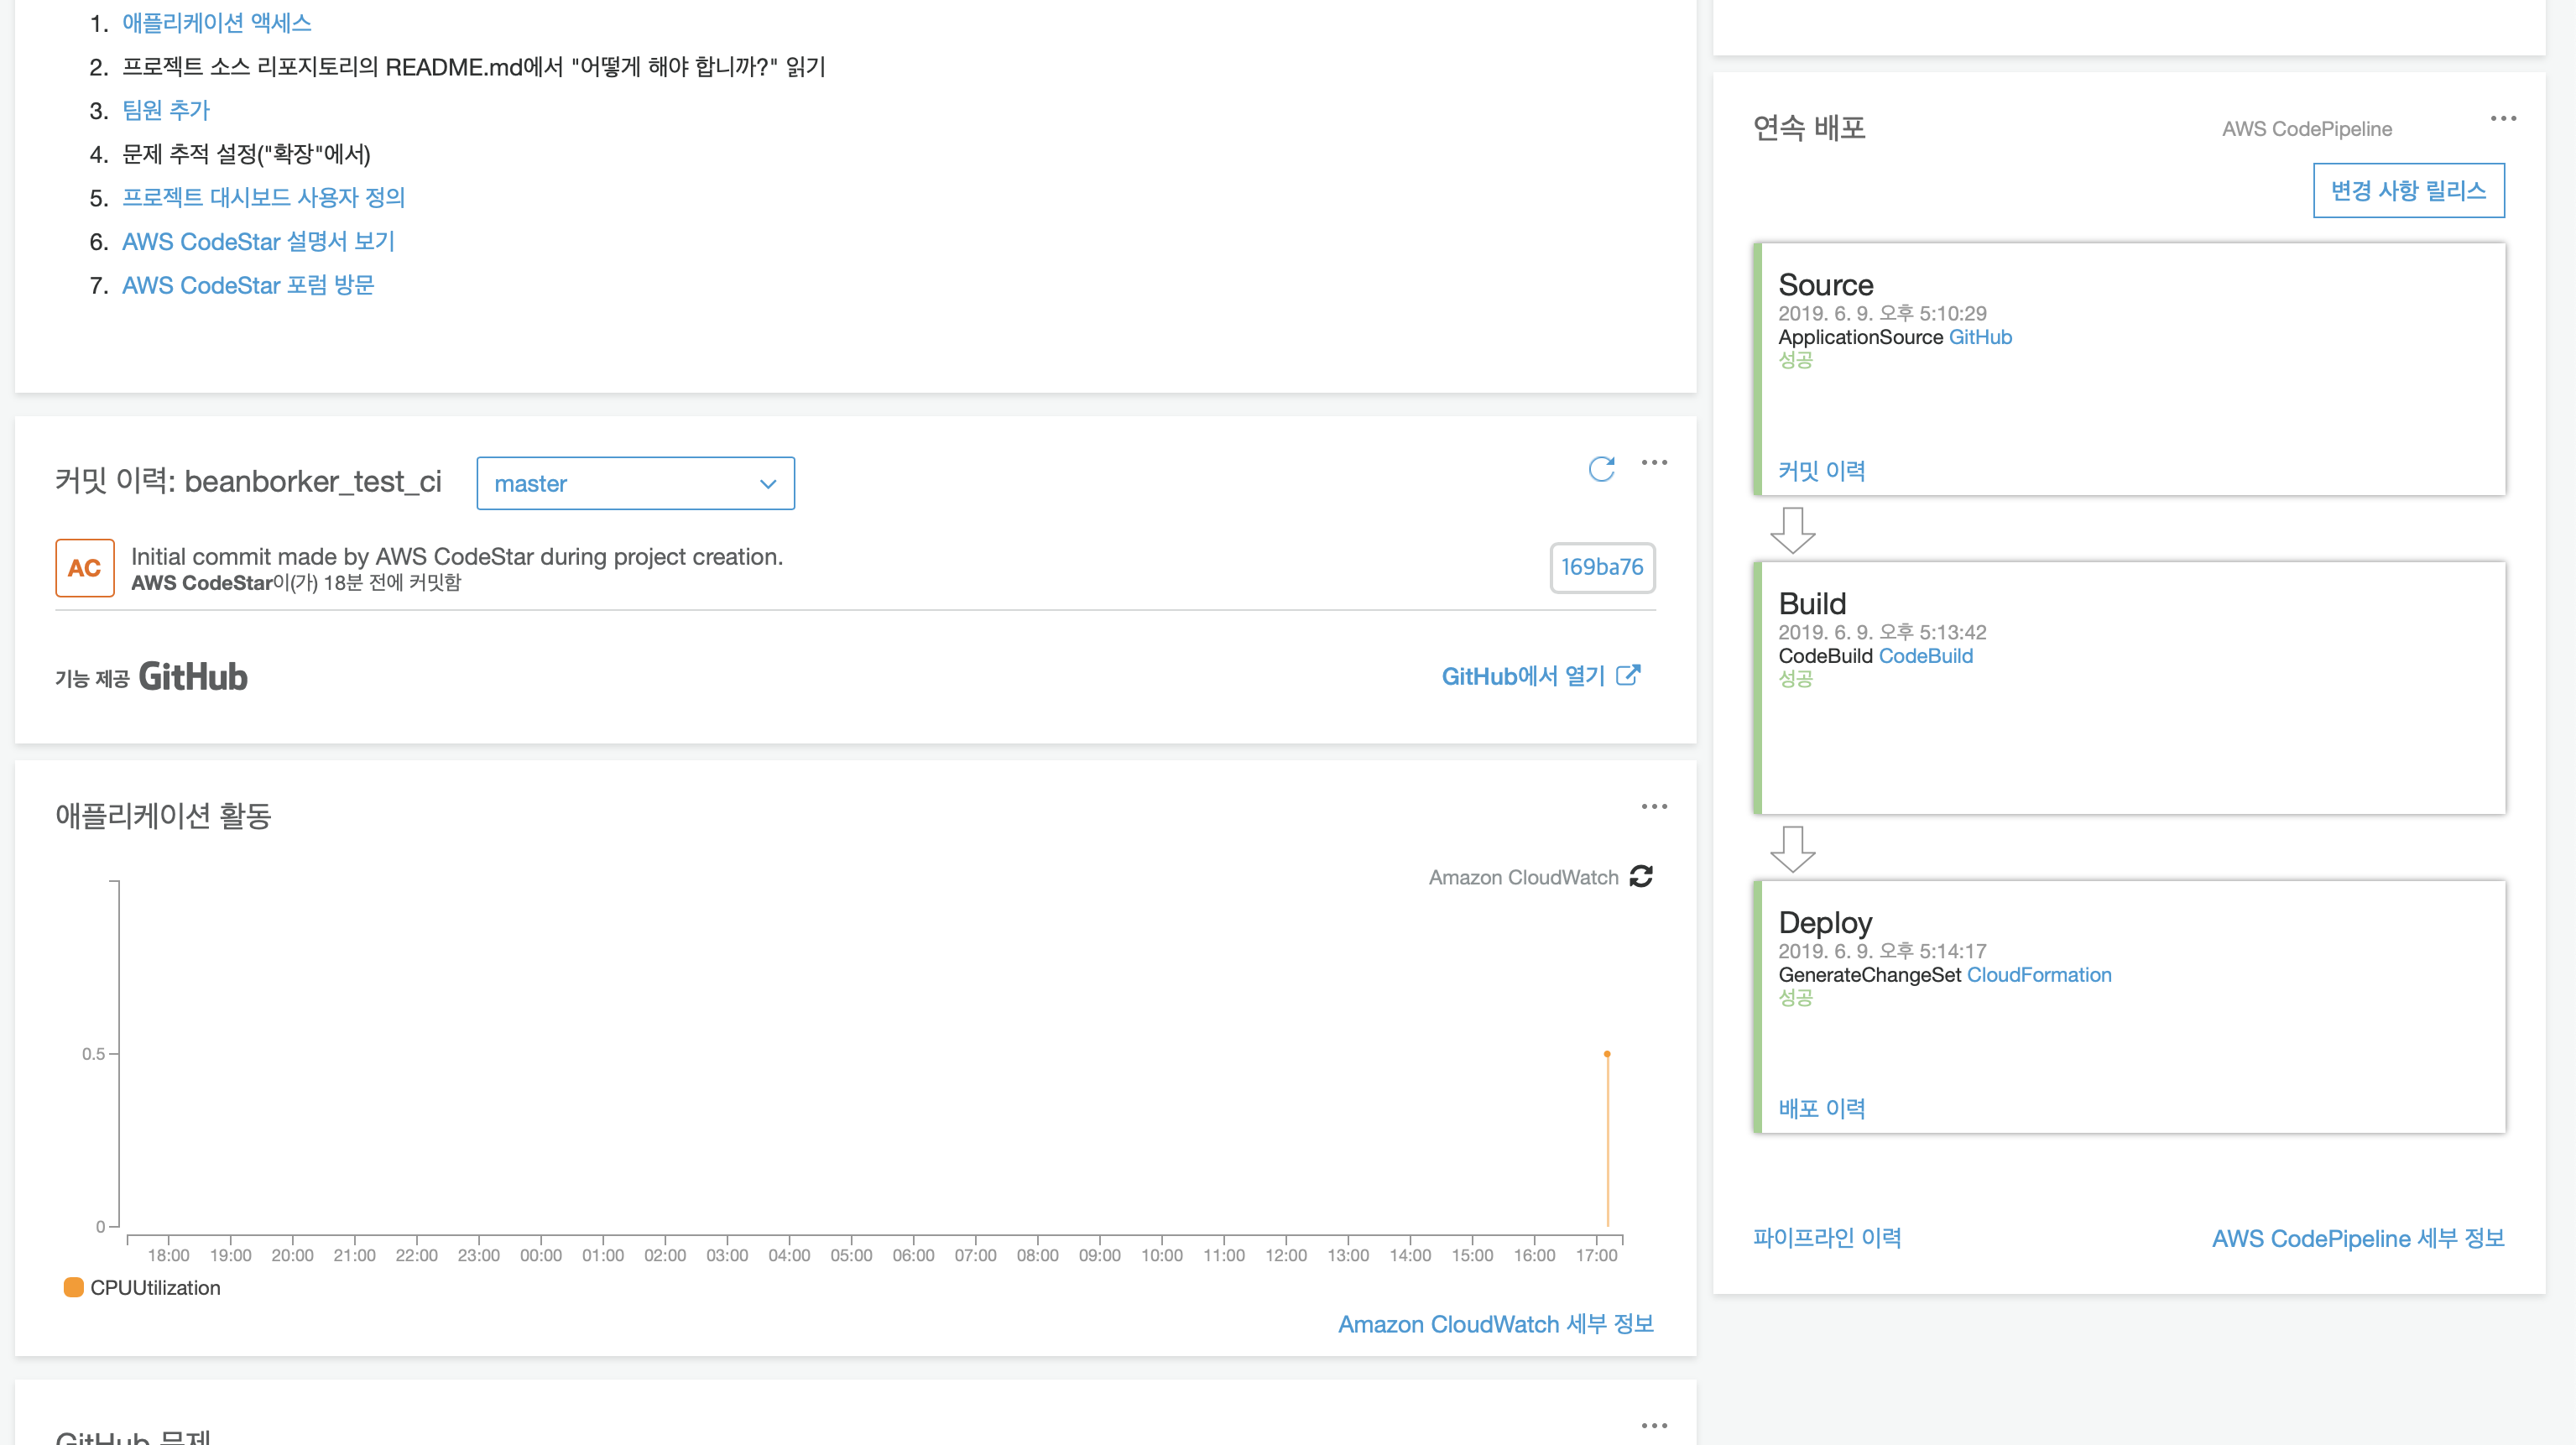
12

STEP 13

  • 오른쪽 소스, 빌드, 디플로이 시간
  • 커밋이력 또한 볼수 있음! jira컨플런스랑 연동도 가능합니다.

13

결론

  • 많은 셋팅 없이 ci구축이 가능하며, aws에서 제공해주는 다양한 서비스들을 한번에 올라옴
  • 3장으로 이어가야…. 할듯….