MongoDB 2장 mlab 무료 클라우드
MongoDB 3장 간단 CRUD with Spring
3장에 이어서 Mongodb QueryDsl을 적용해보자
4장 MongoDB 4장 QueryDsl with Spring
1. build.gradle 설정
plugins에 < id “com.ewerk.gradle.plugins.querydsl” version ‘1.0.10’ > 를 추가해준다
1 | plugins { |
아래와 같이 dependency추가 현재 가장 높은 major 버전은 4.3.1입니다.
1 |
|
gradle 하단에 아래의 코드를 붙여 넣자
대충 Q클래스 생성 위치를 정하고 생성과 삭제를 담당
1 | def querydslSrcDir = 'src/main/generated' |
2. QCLASS를 생성해보자
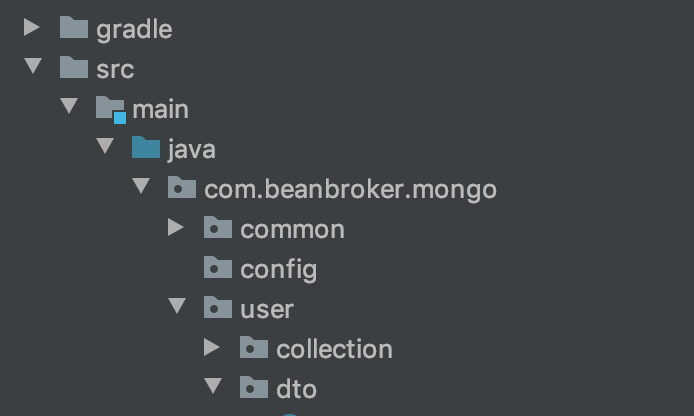
위처럼 현재 위에서 Qclass를 생성한 dir가 보이지 않는다
아래의 사진에서 gradle tap build 클릭
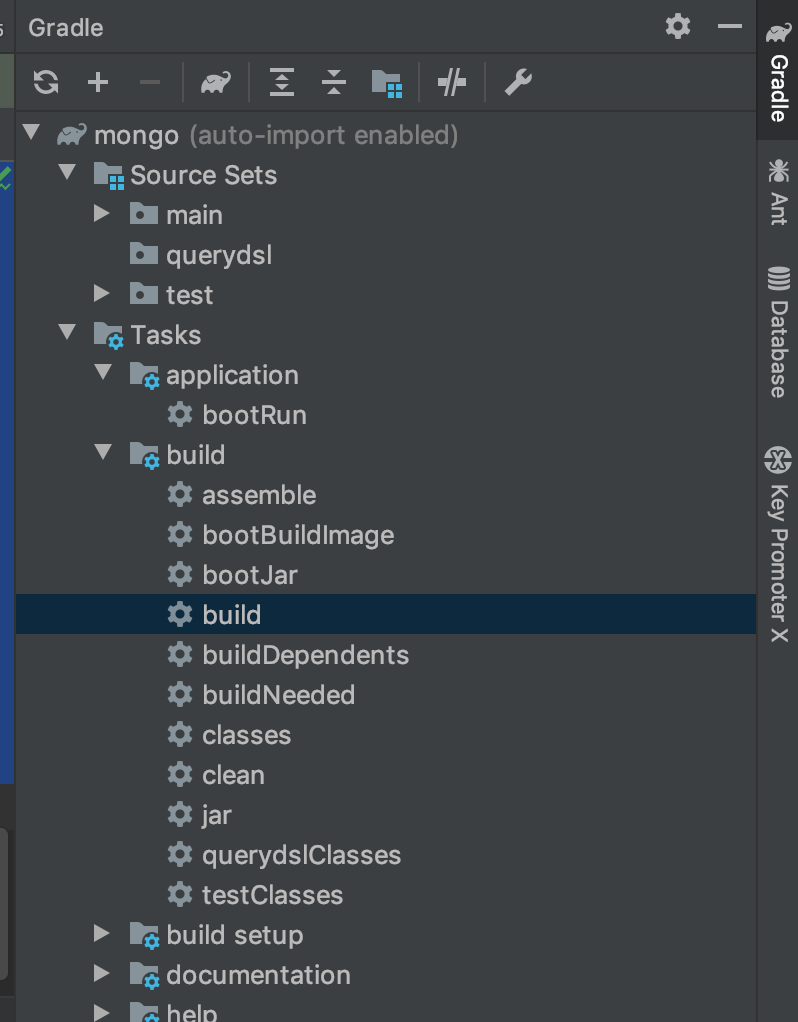
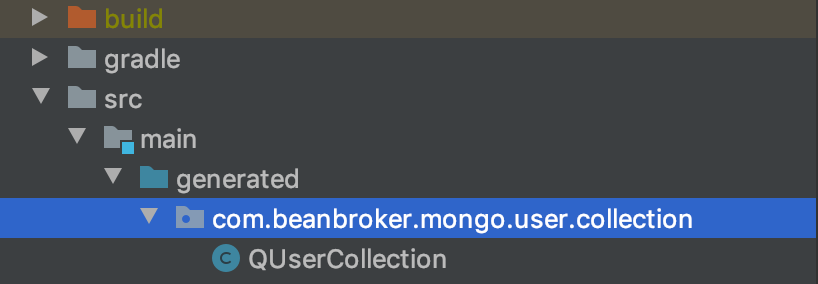
gradle build 이후에 QUserCollection이 생성되었음을 확인 할수 있다!
gradle clean을 통해 생성된 dir와 QClass들을 삭제할수 있고 또는 gradle build시 기존에 생성되었떤 QClass들을 삭제하고 새로 생성하기 때문에 새로운 컬렉션을 추가하더라도 전혀 무제가 없음을 확인할수 있다.
생성된 QCLASS1
2
3
4
5
6
7
8
9
10
11
12
13
14
15
16
17
18
19
20
21
22
23
24
25
26
27
28
29
30
31
32
33
34
35
36
37
38
39
40
41
42
43
44
45
46
/**
* QUserCollection is a Querydsl query type for UserCollection
*/
("com.querydsl.codegen.EntitySerializer")
public class QUserCollection extends EntityPathBase<UserCollection> {
private static final long serialVersionUID = 462837480L;
public static final QUserCollection userCollection = new QUserCollection("userCollection");
public final StringPath address = createString("address");
public final NumberPath<Integer> age = createNumber("age", Integer.class);
public final StringPath createBy = createString("createBy");
public final DateTimePath<java.time.LocalDateTime> createdAt = createDateTime("createdAt", java.time.LocalDateTime.class);
public final StringPath email = createString("email");
public final StringPath id = createString("id");
public final NumberPath<Integer> isDeleted = createNumber("isDeleted", Integer.class);
public final DateTimePath<java.time.LocalDateTime> updatedAt = createDateTime("updatedAt", java.time.LocalDateTime.class);
public final StringPath updatedBy = createString("updatedBy");
public final StringPath userId = createString("userId");
public final StringPath userName = createString("userName");
public QUserCollection(String variable) {
super(UserCollection.class, forVariable(variable));
}
public QUserCollection(Path<? extends UserCollection> path) {
super(path.getType(), path.getMetadata());
}
public QUserCollection(PathMetadata metadata) {
super(UserCollection.class, metadata);
}
}
3. 근데 왜 QueryDsl?
QueryDsl을 쓰는 이유는 해당 블로그보다 다른 블로그에서 좀더 친절하게 설명해줄것을 믿으며 간단한 샘플을 통해 적용해보고 그 후 동적(다이나믹) 쿼리를 만들어본다
아래와 같이 유저 생성
1 | curl --location --request POST 'http://localhost:9000/users' \ |
UserRepository 변경
- UserRepository
1 | public interface UserRepository |
- UserRepositoryImpl 생성
1 | public class UserRepositoryImpl extends QuerydslRepositorySupport implements UserRepositoryWrapper { |
- UserRepositoryWrapper 생성
1 | public interface UserRepositoryWrapper { |
QueryDSL에서는 JPA 메소드 명명 규칙에 따라서 커스텀 메소드를 작성하는데, 명명 규칙을 따르지 않으면 두 인터페이스를 모두 상속받는 과정에서 오류가 발생한다.
테스트해보자
UserController에 아래와 같이 추가
1 | ("/search") |
정상작동은 하나 몬가 search기능에 부합해보이지 않는다
Predicator를 생성해보자
아래와 같이 생성
1 | public class UserPredictor { |
Controller를 바꿔보자
1 | ("/search") |
아래와 같이 쿼리스트링 추가하여 테스트 진행 정상작동확인1
2curl --location --request GET 'http://localhost:9000/users/search?userName=pkj&userId=test' \
--header 'Cookie: JSESSIONID=CAA019F0C3D0B5129E22A4DC86CDC7B7'